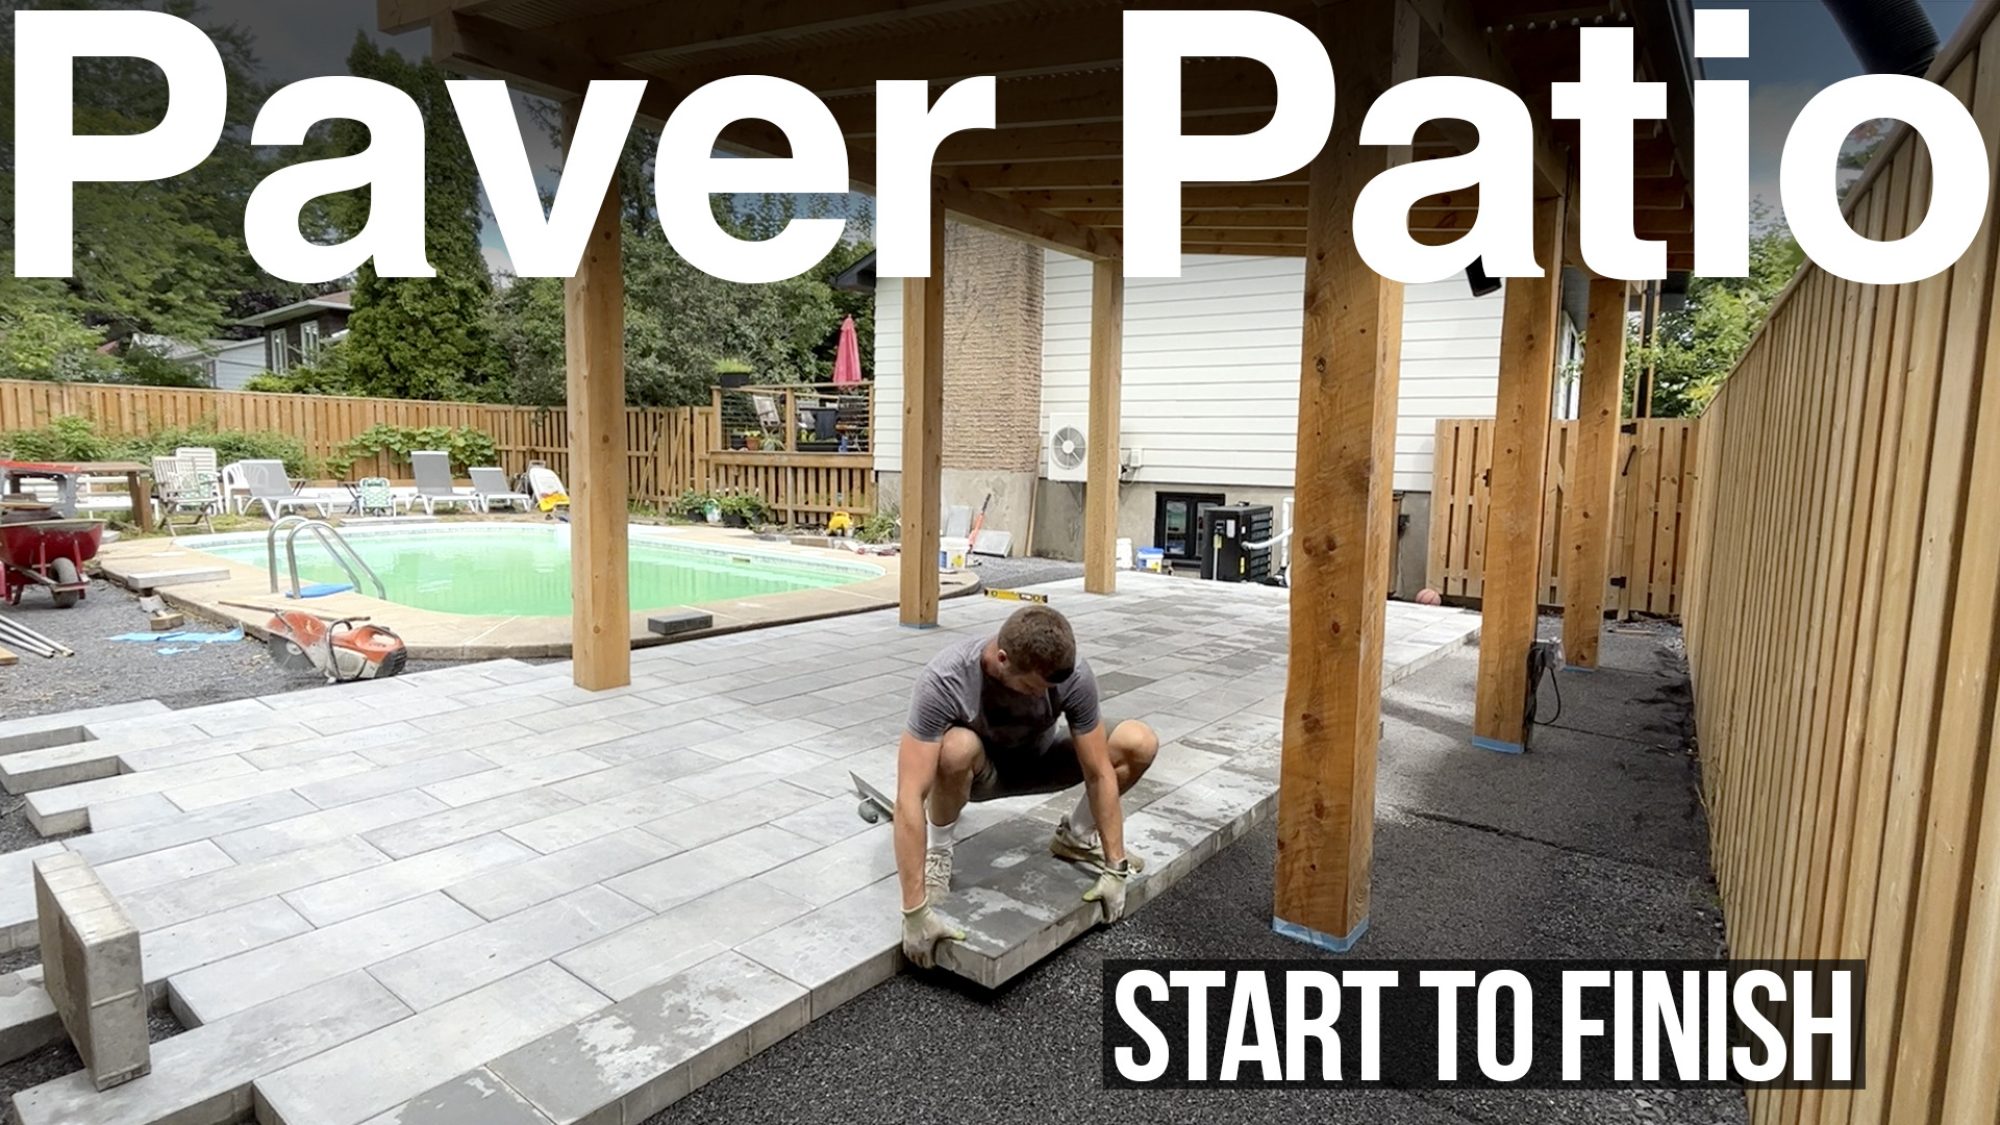
The quote to have a company install the patio around my pool was about $27,000 CAD. I laid all 1,100 sq ft myself for under $4,500 by buying used pavers, borrowing an excavator and building the base properly. It took a lot of weekends and my lower back paid for it. Here’s how I did it, what went wrong, and what I’d change.
How much does a DIY paver patio cost?
I built 1,100 sq ft for under $4,500 CAD. A company quoted about $27,000 for a patio this size, which is why I decided to do it myself.
The biggest saving was the pavers. A quote for brand new ones came back at $9,000. I checked Marketplace every morning for a few weeks and went to see the used ones in person. In the end I paid $2,500 for 1,100 sq ft of driveway pavers, delivered to my house.
Should you buy new or used pavers?
| Option | Cost for 1,100 sq ft | What to know |
|---|---|---|
| New | $9,000 (quote) | Visit a stone yard to see samples, colours and patterns |
| Used (Marketplace) | $2,500, delivered | Old polymeric sand has to be scraped off every paver. Mine are driveway pavers, 3 in (80 mm) thick and 81 lb each |
What tools and materials do you need for a paver patio?
Materials
- Pavers
- Geotextile fabric
- Gravel for the base (4 in)
- Stone dust for the screeding layer (1 in)
- Edge restraint (mine came in 7ft lengths) and 10in metal nails
- Concrete for high-traffic edges
- 1/2 in river stone for the entrance
- Polymeric sand
Tools
- Excavator or shovel
- Plate compactor and a hose
- Rebar stakes, string and a line level
- Bottle jacks and spray foam (for lifting my sidewalk)
- The straightest 2x4 you can find, and a level
- Three or four 3/4 in galvanized pipes
- Trowel and mallet
- Cut-off saw and an oscillating tool
- Chalk line, marker, combination square and tape measure
- Broom, blower and masking tape
- Safety glasses, ear muffs and a mask
How deep do you dig for a paver patio?
Deep enough for 4 in of gravel, 1 in of screeding material and the thickness of your pavers, all below your finished height. With my 3 in pavers, that meant digging 8 in down. It’s a lot of dirt, so plan how you’ll move it.
My neighbour saw me building the gazebo and offered his excavator on weekends. A full weekend of removing dirt and tree stumps with it probably saved me a week of digging, and my back. A buddy lent me his truck for the same weekend. The day before, I posted free backfill dirt on Facebook groups and Marketplace. Someone nearby wanted all of it, so I delivered three truckloads and saved a few bucks.
Do you need geotextile fabric under pavers?
Yes, I used it. People call it weed barrier, but its real job is to keep the rocks and base material in place so they don’t wash away. I overlapped each layer by 6 in and held it down with gravel while I worked.
How do you build the gravel base and set the slope?
The gravel base is the most important part of the whole patio, because it’s the foundation. From what I read, pavers sink if the base isn’t thick enough, or if there’s more than 1 in of screeding material on top. I used 4 in of gravel and a slope of 1/8 in per foot.
Why the string line didn’t work for me
I planted rebar stakes, tied a string line between them and checked it with a line level. In theory that’s simple, and I’d seen it in a lot of videos. In my yard it was a huge challenge. Six posts were in the way, and the pool sidewalk had sunk and was throwing every measurement off.
Fix the sidewalk first
The pavers had to sit flush with the sidewalk, so the sidewalk came first. I got quotes to break it and pour a new one, but that would have meant removing the pool liner and paying for a new one. Instead I used six bottle jacks and spray foam to raise the concrete all the way around the pool. It took one weekend. how I raised the sunken sidewalk.
The notched board that finally worked
My answer was to screed the gravel itself. I cut a piece of wood with a notch at one end, exactly as tall as my pavers plus 1 in for the screeding layer. Dragging it over the gravel gave me the right height and the right pitch at the same time.
I started with the highest area, right along the sidewalk, and worked outward. After each section I wet the gravel with the hose and ran the plate compactor over it. Compacting lowers the surface, so I had to add gravel and repeat two or three times before the pavers would sit flush with the sidewalk. For the larger areas I used the straightest 2x4 I’ve ever owned (a month later it was still straight) and kept a level close by.
This was probably overkill and I wasted time. It was also the only method that worked for me. Digging, levelling and prepping took multiple weekends.
How thick should the stone dust (screeding) layer be?
No more than 1 in, anywhere. If one area gets more screeding material than another, it compacts more over the years and the pavers above it settle. That’s true whether you use stone dust, levelling sand or 1/4 in chip stone.
Everywhere I looked I got a different answer on which to use. From what I found, levelling sand is common in the southern states, and stone dust is common in Canada. I went with stone dust because every quote and video I researched recommended it.
How I screeded it
A 3/4 in galvanized pipe from Home Depot has a 1 in outside diameter, which makes it a perfect screed guide.
- Lay two parallel pipes and set your level on them to confirm the slope.
- Screed the stone dust along the pipes.
- Slide the pipes down and repeat, rechecking the level as you go.
- If a pipe sits too high, hammer it down.
- Fill the divots the pipes leave with stone dust, using a trowel, once the pipes are moved or while laying pavers.
I bought three pipes. Four would have made my life a lot easier. In 5 hours I screeded a 400 sq ft section, and the next morning I had a perfect surface to start laying.
How do you lay pavers?
Start with a straight guide. I ran a line parallel to my gazebo posts, 6in away from the sidewalk, because I knew the sidewalk edge had imperfections. If you buy used pavers, scrape the old polymeric sand off each one first.
Mine are heavy: 81 lb each. The first row was a struggle. I didn’t know how to grab them without crushing my fingers, and they slipped out a few times. By the third row I’d found the click-and-drop technique. I’d click the paver in, drop it, then pound it with a mallet so the edges sat flush against their neighbours.
To keep the brick pattern straight, I used a tape measure to find the centre of each paver and sighted along the line. If the line was off, I pushed the pavers until it was straight.
My brother-in-law scraped pavers and carried them closer to me. The first day of laying ended in thunder showers. The next day a friend came out and we finished the whole area under the gazebo.
How do you cut pavers with a cut-off saw?
This was my first time cutting a paver and my first time using a cut-off saw. It’s heavy and very loud, and you choose between dusty (dry) or wet. If you make a cut slightly too tight, an oscillating tool will clean up the edge. It’s slow, so I only used it for the first few cuts.
The wet saw’s spray erases your marked line, so make the first pass dry, then turn on the water to cut through. The slurry is essentially cement and bonds to whatever it touches, so I hosed down the whole area, sometimes with the pressure washer.
Straight cuts
Snap a chalk line, then go over it with a level and a marker to make it more permanent. I reused scraps and thin offcuts wherever I could.
Cutting around posts
All three back posts landed in the middle of three pavers. I cut each paver in half, then cut a rectangle out of each half.
Curved cuts along the sidewalk
I’d dreaded these for two days. Here’s the method that worked:
- Place a small piece of paver down as a riser.
- Set the paver on top and make sure it sits flush with its neighbours, as if it were in place.
- Put your eye directly over the point where the sidewalk meets the paver and mark it.
- Use a combination square to carry the mark to the top face.
- Join the marks with the straight edge of a trowel.
For longer curves, measure again every 4 to 6 in along the edge. The first successful curve gave me all the confidence I needed to finish the rest.
How do you finish the edges and entrance?
Install edge restraint around the outside. Mine came in 7 ft lengths. The instructions say to remove some of the stone dust from the edge first, so I did, then nailed it down with 10 in metal nails every linear foot.
At the entrance I wanted something special, so I laid a path of pavers to the door, three pavers side by side. That edge would get a lot of foot traffic, and I figured it would eventually shift or sink. So I removed the stone dust and poured a concrete base instead. I let it harden a bit, added a little more concrete, and set the pavers flush with the rest of the patio. A layer of 1/2 in river stone finished the entrance. Along the fence side I left a 30 in gap and added a border paver.
How do you apply polymeric sand to pavers?
I chose polymeric sand because it hardens and acts like grout, holding everything together. The key rules:
- Start bone dry. The product starts to activate with a little water.
- Sweep it in. Every couple of strokes, bang the pavers with a mallet so the sand settles all the way down.
- Sweep diagonally. My broom pushed sand out of the joints when I moved parallel to the pavers.
- Tape the edges. Sand was falling through around the sides, so I masked them.
- Blow the surface clean. Don’t let polymeric sand stick to the tops of the pavers.
- Water as the bag says. Gently at first, without aiming straight at the pavers, then a good soak about five minutes later.
How do you get rid of old pavers fast?
Give them away! Mark them as FREE on FB Marketplace. On the other side of the pool, I had old pavers I wanted gone: I posted an ad for free pavers, and a week later someone came and did all the hard work of taking them away.
Is a DIY paver patio worth it?
For me, yes: under $4,500 CAD against a $27,000 quote. It’s heavy work, though. The prep alone took multiple weekends, and bending over 81 lb pavers is rough when you spend your days at a desk. It suits someone who can borrow gear and line up a couple of helpers.
If I did it again, I’d buy four galvanized pipes instead of three and wear safety glasses from the first cut.
Which part of a paver patio would worry you most: the digging, the base, the cutting or the installing part? Tell me in the YouTube comments.


